Synology install Affine
There are numerous tutorials online about installing Affine on Synology NAS, but they mostly involve using SSH or initially installing a third-party Docker as an indirect method of installation, significantly raising the barrier to entry. This article aims to offer a very accessible guide to help anyone quickly install Affine.
Config your Synology
Here, I assume your NAS IP is 192.168.1.2
If you don’t have public IP of NAS, DDNS, or you intend to deploy in the internal network, then just skip the following section.
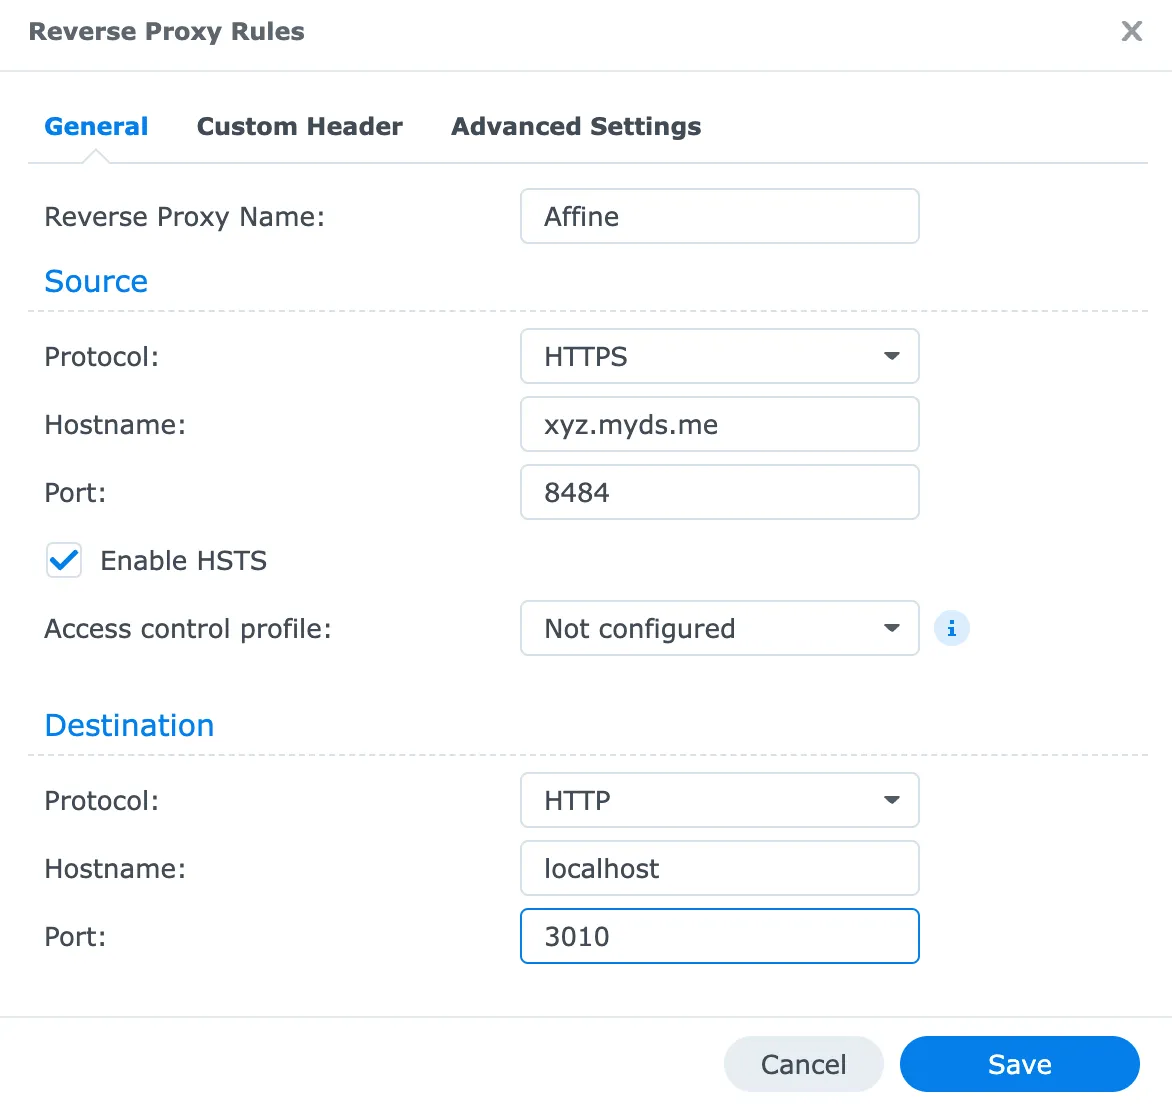
1 Config Reverse Proxy
Go Control Panel –> Login Portal –> Advanced –> Reverse Proxy, and config as below. Except Hostname, any other field can follow as screenshot if you don’t have any customized requirement.
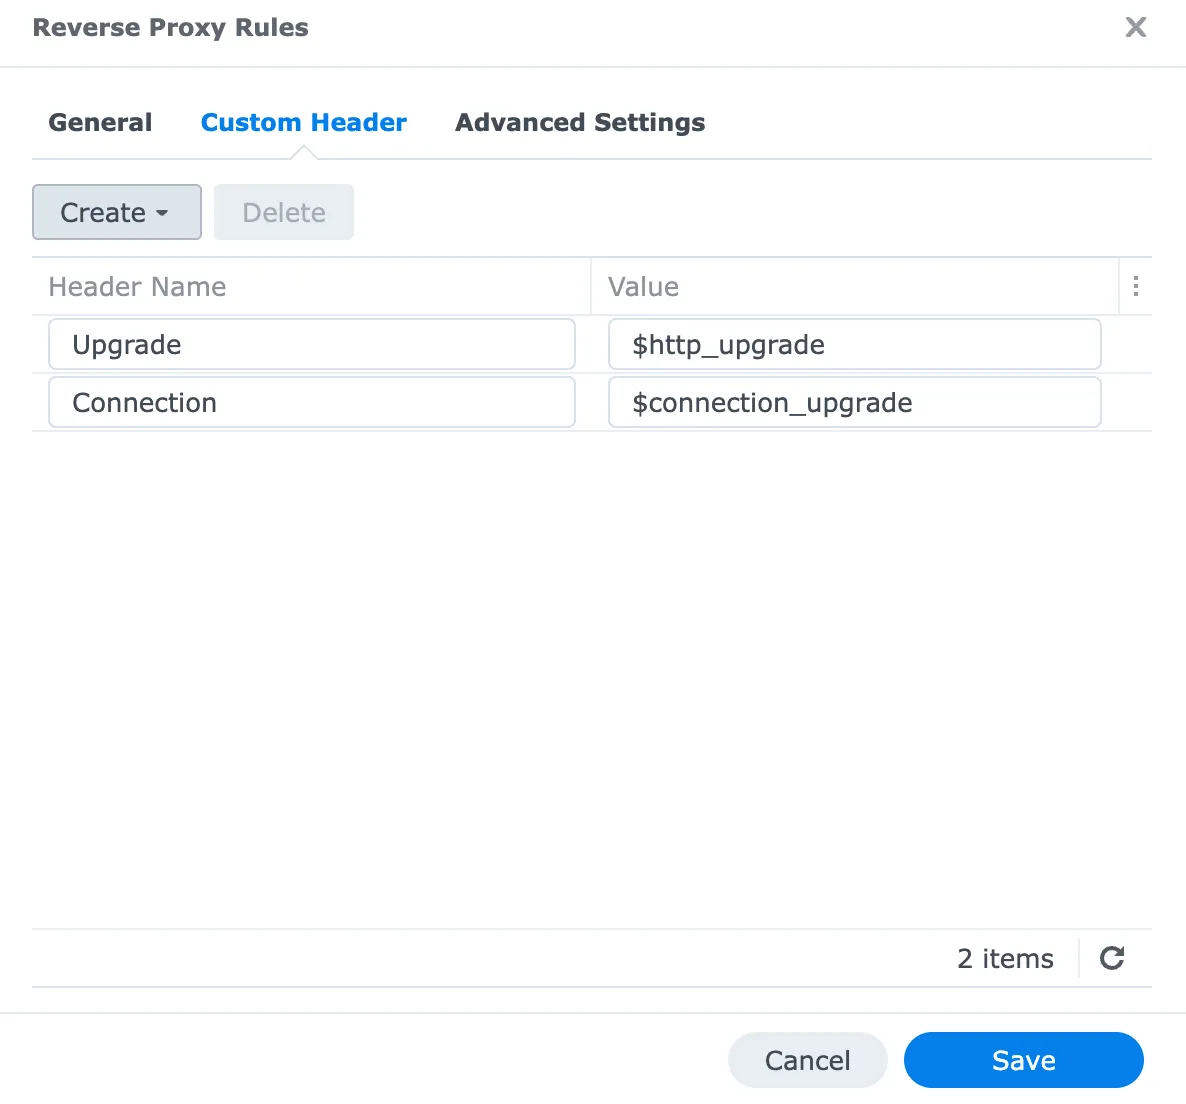
Then create new rules Websocket in Custom Header
Save, then everything is done for Reverse Proxy. But, if you have router or ONR that connect Synology to the Internet, please also config the port forward rules to ensure it can pass the route.
Docker config
1 File config
Open File Station
New affine folder under docker folder, then create config, db, redis, storage folders under affine
2 Container
Go Container Manager –> Project –> New
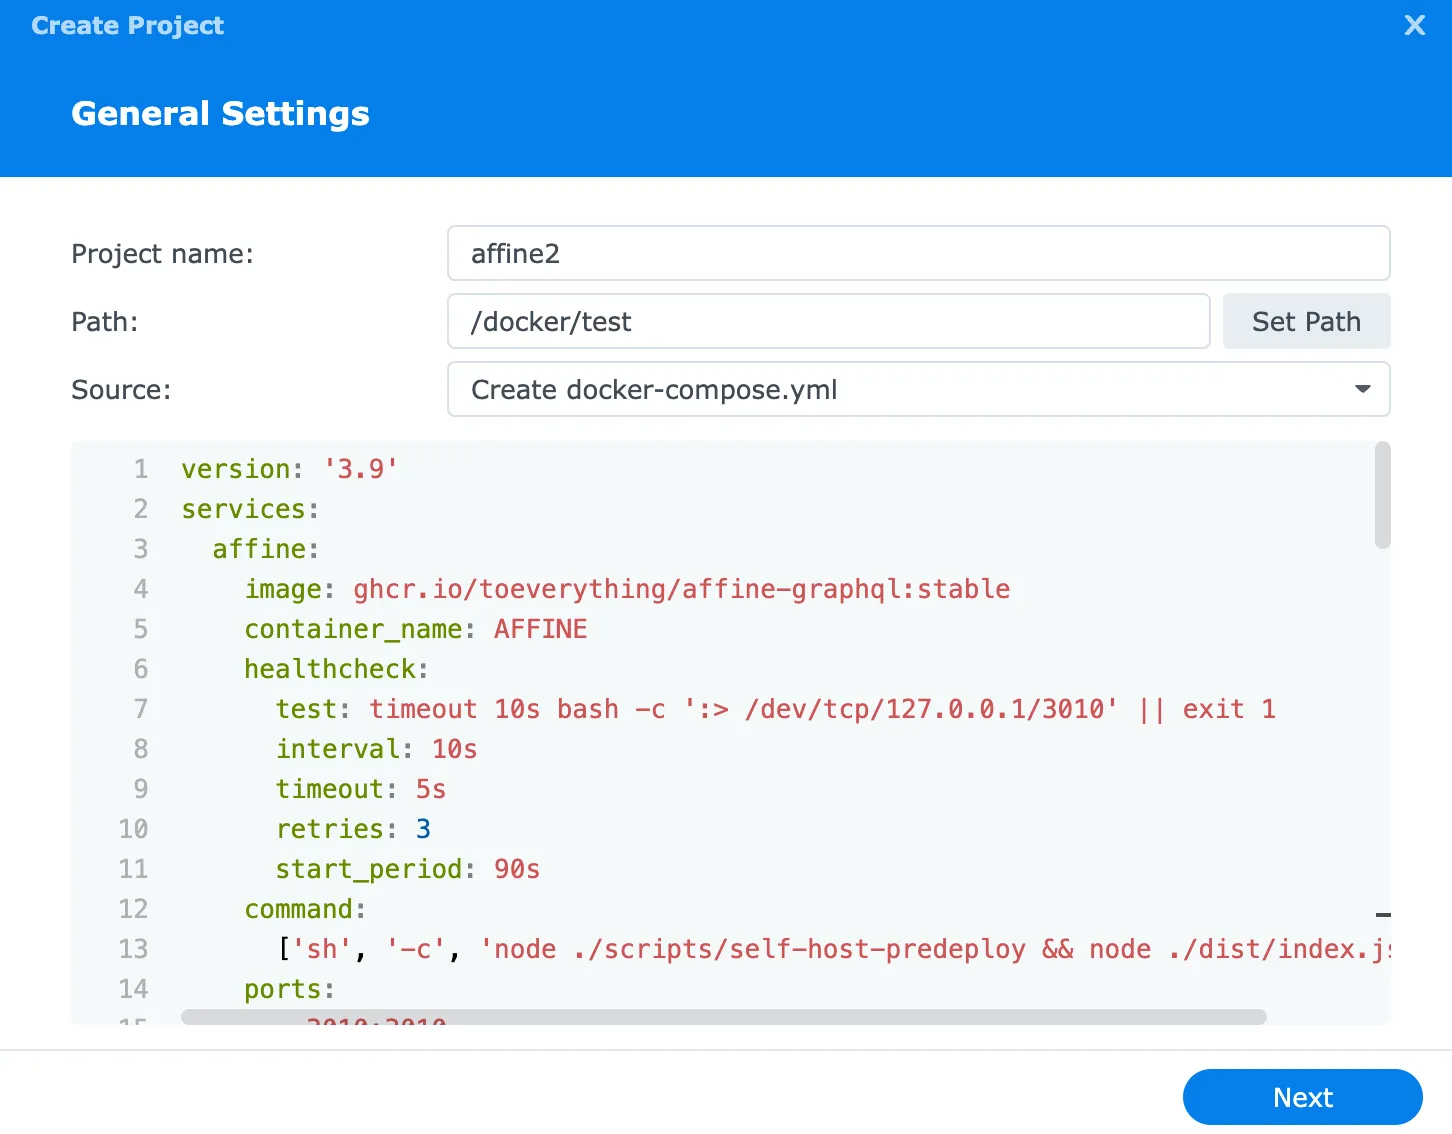
then input the below under docker-compose.yml
version: '3.9'
services:
  affine:
    image: ghcr.io/toeverything/affine-graphql:stable
    container_name: AFFINE
    healthcheck:
      test: timeout 10s bash -c ':> /dev/tcp/127.0.0.1/3010' || exit 1
      interval: 10s
      timeout: 5s
      retries: 3
      start_period: 90s
    command:
      ['sh', '-c', 'node ./scripts/self-host-predeploy && node ./dist/index.js']
    ports:
      - 3010:3010
      - 5555:5555
    depends_on:
      redis:
        condition: service_healthy
      postgres:
        condition: service_healthy
    volumes:
      - /volume1/docker/affine/config:/root/.affine/config:rw
      - /volume1/docker/affine/storage:/root/.affine/storage:rw
    logging:
      driver: 'json-file'
      options:
        max-size: '1000m'
    restart: on-failure:5
    environment:
      - NODE_OPTIONS="--import=./scripts/register.js"
      - AFFINE_CONFIG_PATH=/root/.affine/config
      - REDIS_SERVER_HOST=redis
      - DATABASE_URL=postgres://affineuser:affinepass@postgres:5432/affine
      - NODE_ENV=production
      - [email protected]
      - AFFINE_ADMIN_PASSWORD=barPassword
  redis:
    image: redis:latest
    container_name: AFFINE-REDIS
    restart: on-failure:5
    volumes:
      - /volume1/docker/affine/redis:/data:rw
    healthcheck:
      test: ['CMD', 'redis-cli', '--raw', 'incr', 'ping']
      interval: 10s
      timeout: 5s
      retries: 5
  postgres:
    image: postgres:16
    container_name: AFFINE-DB
    restart: on-failure:5
    volumes:
      - /volume1/docker/affine/db:/var/lib/postgresql/data:rw
    healthcheck:
      test: ["CMD", "pg_isready", "-q", "-d", "affine", "-U", "affinesuser"]
      interval: 10s
      timeout: 5s
      retries: 5
    environment:
      POSTGRES_USER: affineuser
      POSTGRES_PASSWORD: affinepass
      POSTGRES_DB: affine
      PGDATA: /var/lib/postgresql/data/pgdata
AFFINE_ADMIN_EMAIL is the admin email, it could be any valid email address because no required to verify.
AFFINE_ADMIN_PASSWORD is the admin password for admin.
Now, we have done the configuration, and you can start compile and build the docker container.
Lastly, input 192.168.1.2:3010 in the browser and you will see Affine.
Affine configuration
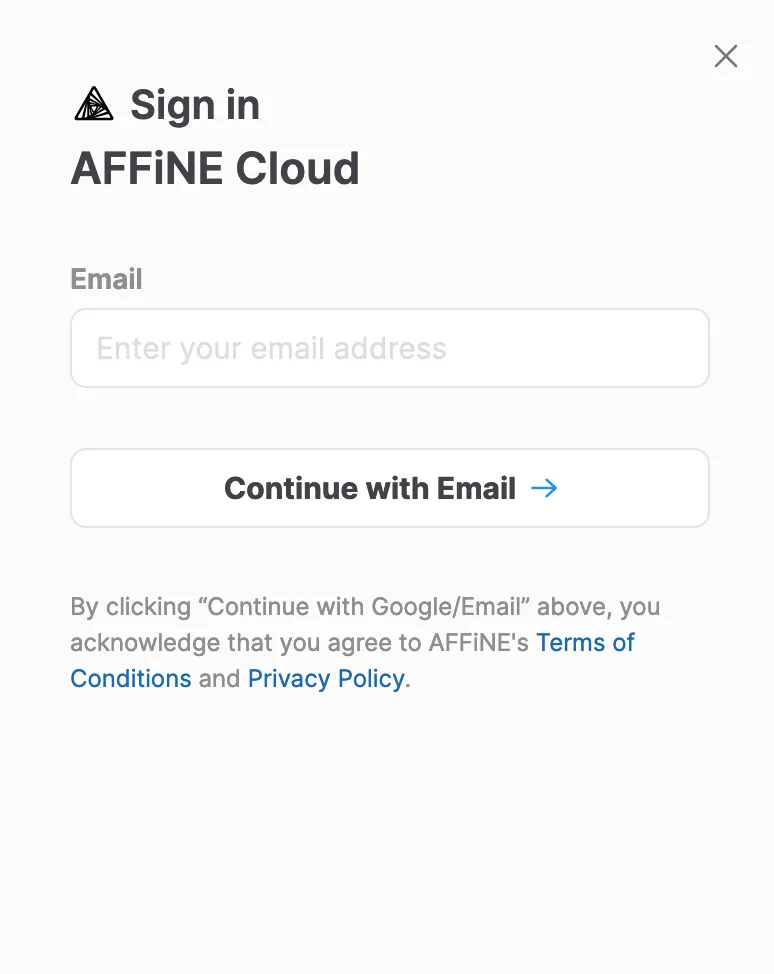
In Affine, the default workspace is local workspace. Hence, we have to switch to cloud workspace.
1 Login
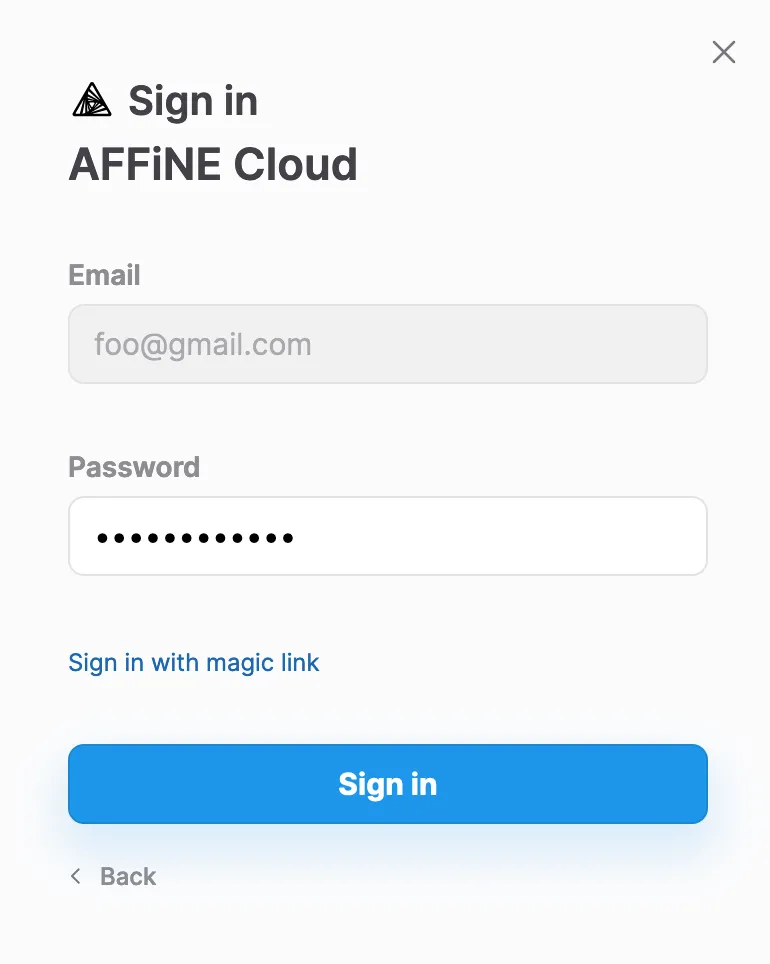
2 Workspace
Local workspace is stored in the browser, all the files will be lost if we log out or clear cache. However, don’t worry, we have a lot of spaces in NAS, NAS = cloud.
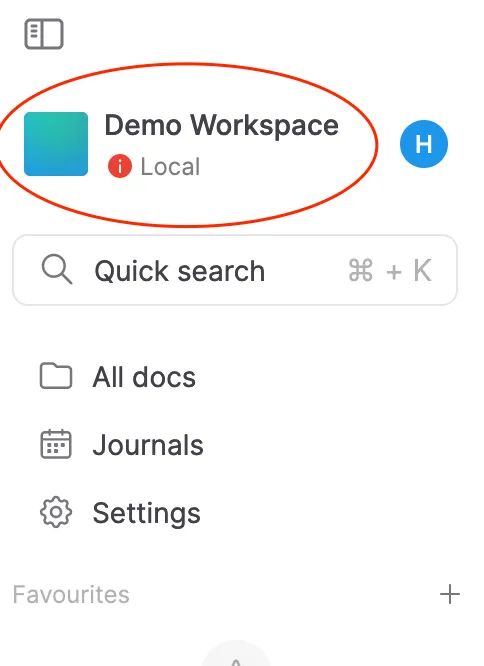
Open this Demo workspace
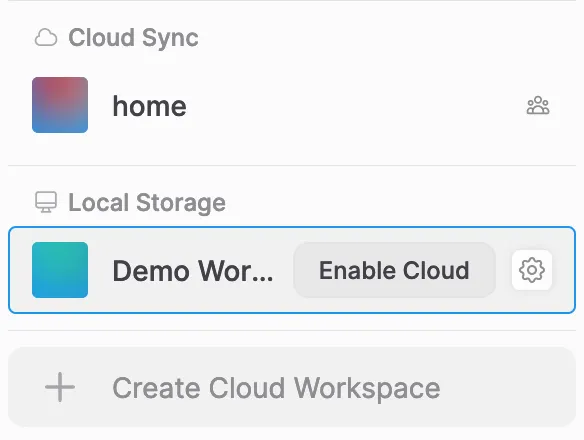
Then Enable Cloud , then all the files would be written to NAS, the file would be there as long as NAS still work.
3 Invitation
Usually, it’s very common case that each one own one account in a big family or among friends, multi-account system is necessary. However, Affine is not well supported to multi-account, you have to call API to make it working.
3.1 Call API
Let’s assume the invitation email is [email protected], and the admin email is [email protected]
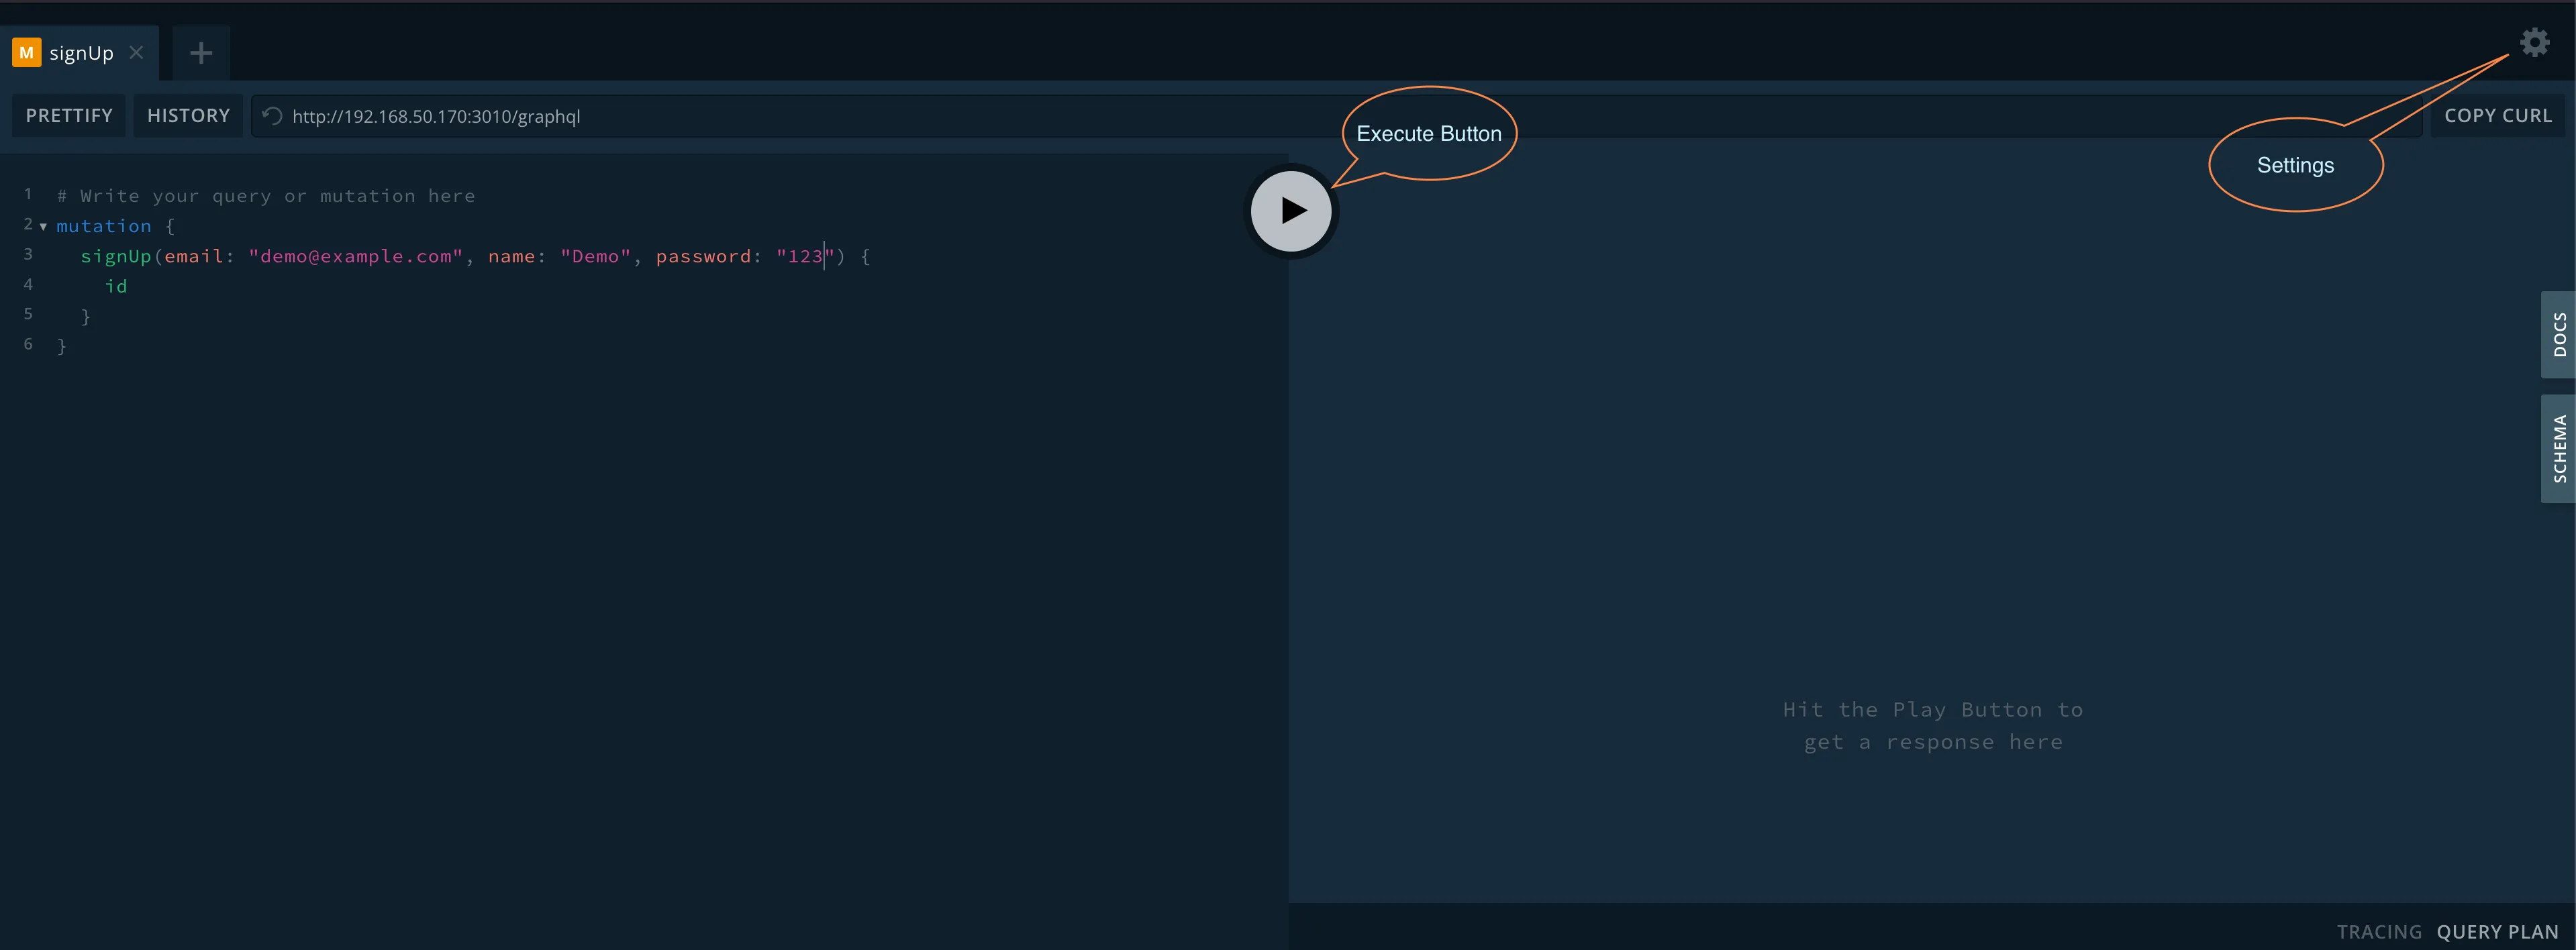
- open
192.168.1.2:3010/graphql, go to settings, replace"request.credentials": "omit"with"request.credentials":"include",close settings after save the changes. - Input the below API and execute
Sign up the invitation account
mutation {
     signUp(email: "[email protected]", name: "Demo", password: "123") {
         id
     }
}
Sign into the admin account and create an invitation
mutation {
  signIn(email: "[email protected]", password:"123") {
    id
    name
  }
}
Find your workspace ID, in the browser make sure it’s cloud synced then copy the id in the urlhttp://192.168.1.2/workspace/<id>/
mutation {
  invite(
    email: "[email protected]"
    permission: Admin
    sendInviteMail: false
    workspaceId: "xxx-xxx-xx-xxx-xxx"
  )
}
Sign into the being invited account
mutation {
  signIn(email: "[email protected]", password:"123") {
    id
    name
  }
}
Then accept the invite
mutation {
  acceptInviteById(
    inviteId: "copy-id-from-invite-mutation"
    sendAcceptMail: false
    workspaceId: "your-workspace-id"
  )
}
Finally, you can start use [email protected] to login.